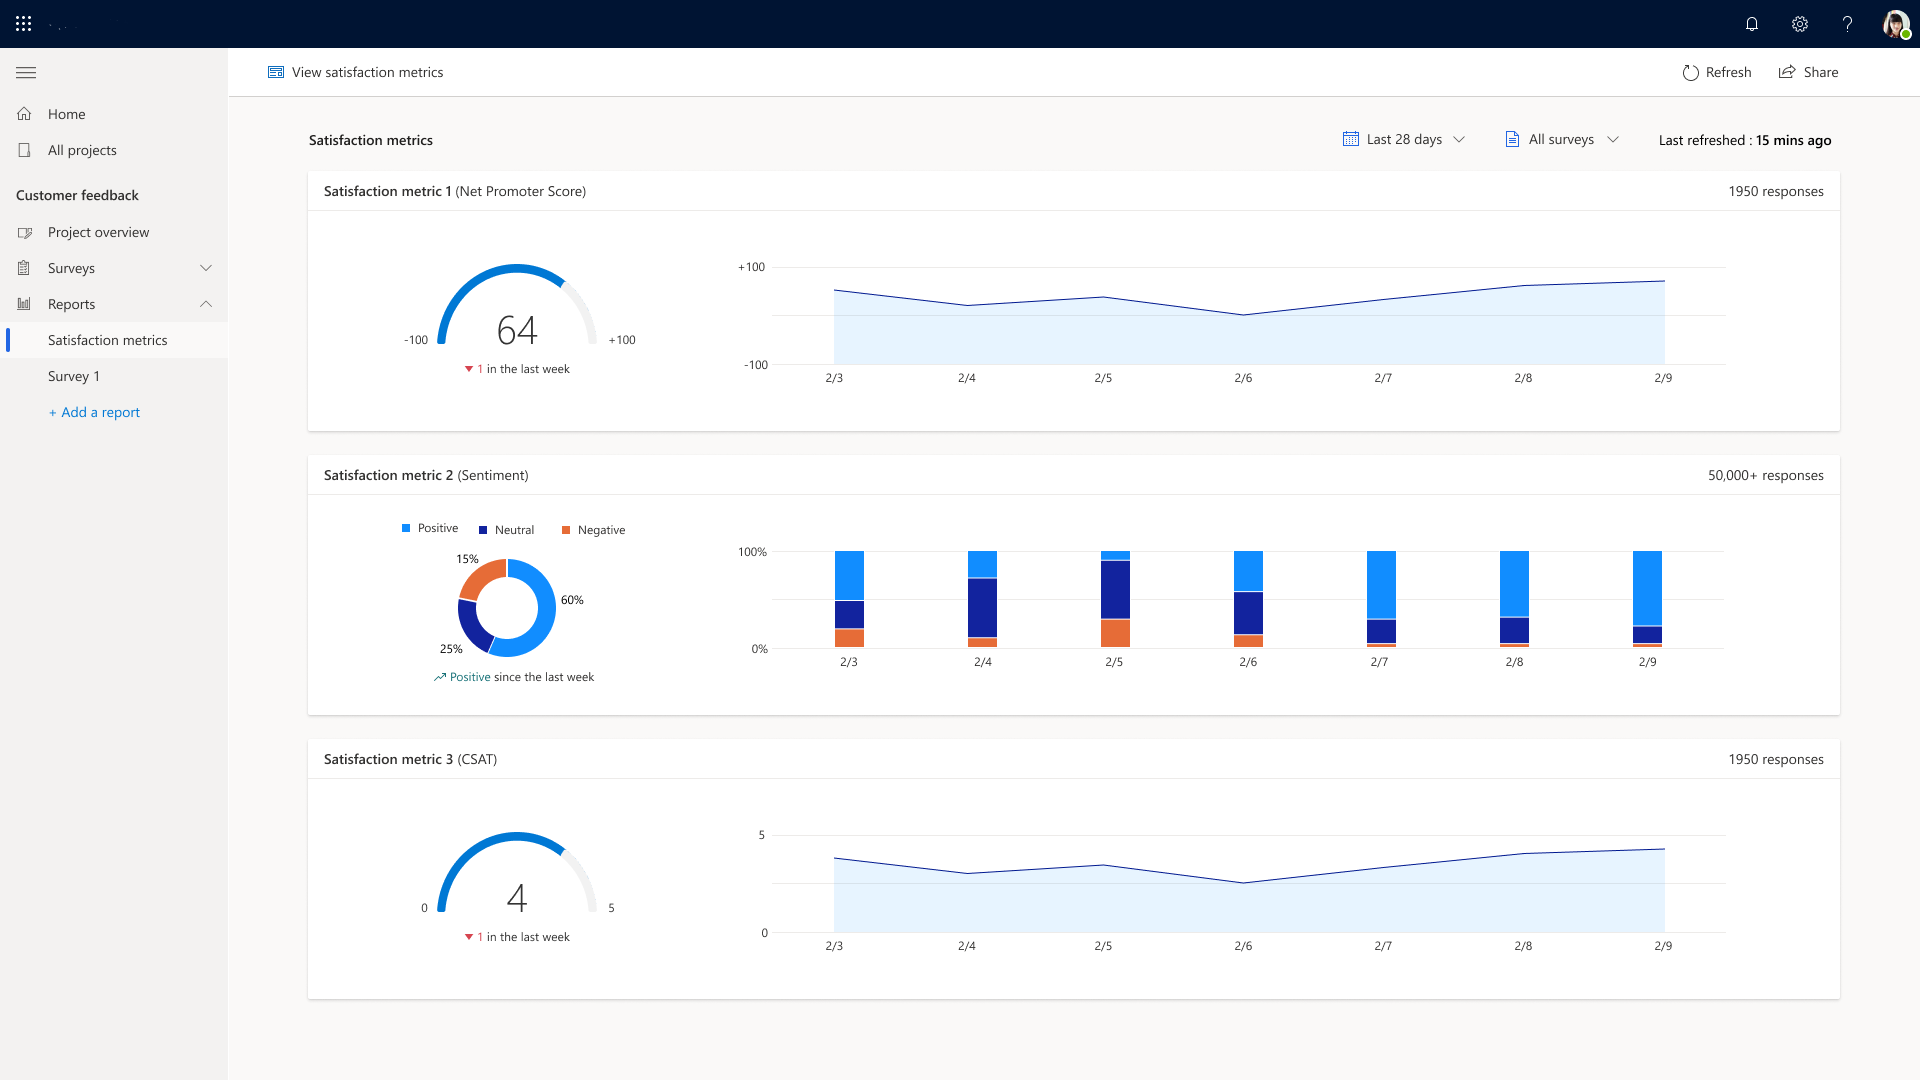

In the world of business, making sure you pulse-check the ‘happiness’ of your clients is vital for business growth. One powerful tool that aids in gauging client satisfaction and loyalty is the Net Promoter Score. The process of calculating the Net Promoter Score (NPS) involves routinely surveying your clients and can now be done easier than ever! - using Dynamics 365 Customer Voice.
In this article, we’ll walk you through the steps to create and execute a successful NPS survey.
Achieving a high score on the NPS scale (or surpassing your industry average) indicates that your business has a positive relationship with your clients (who in turn are more likely to share positive reviews, repurchase products or act as brand champions).
From a business perspective, the NPS helps businesses prioritise actions with the overall objective of improving client satisfaction- ultimately leading to a higher score.
An NPS score is usually a simple question framed with a 1-10 scale. Questions could include “How likely are you to recommend us to a friend or colleague?” or “On a scale of 0 to 10, how likely are you to recommend our company as a workplace”.
Responses are categorised in to 3 groups: Detractors (score 0-6), Passives (score 7-8), and Promoters (score 9-10) – see image below.

An NPS score is simply calculated by subtracting the percentage of detractors from the percentage of promoters. But don't worry, Dynamics 365 Customer Voice will calculate this for you!
Before diving into creating your NPS survey, define your goals, and who you want to target. Understanding your objectives will guide how you structure your survey.
· Log in to Microsoft Dynamics 365 Customer Voice and click New Project
· Choose Blank Survey then click next
· Add a Title and Description to your survey
· Click Add New and select the drop-down arrow. Here select Net Promoter Score. This automatically adds a pre-designed NPS question with a 0-10 scale. You can add additional questions, however, keep in mind that most people don’t like to spend too long completing surveys (we recommend keeping your survey to 5-6 questions max).

Personalise your survey to match your brand's look and feel i.e., adding your logo, selecting your brand colours, and using consistent language throughout the survey to maintain a cohesive client experience.

How your business operates may determine what clients you target for your surveys. For B2B businesses, you have the option to rotate between key contacts and C-level executives to pulse-check both groups. For B2C businesses it may be beneficial to segment your clientele based on factors such as purchase history, geographical location or specific product lines.
Decide how you'll distribute your survey. Customer Voice offers various channels like email, web links, and embedded surveys on your website. Select the method that aligns with your business preference.

Step 6: Monitor and Analyse Responses
Once you have deployed your survey, be clear on the cut-off date and time for responses (if applicable). Sending a reminder email to clients a few days before a survey is due to close can be helpful in gathering a few last-minute responses. As feedback starts rolling in, keep a close eye on your survey dashboard. Customer Voice provides real-time analytics, presenting NPS scores, trends, and qualitative feedback.

The NPS survey is not just about measuring the NPS score but using the feedback gathered to drive meaningful change. Take time to analyse any “detractors” and look at ways of making improvements to their future experiences. For ‘promoter’ responses, this could be a good opportunity to leverage their feedback into becoming brand champions.
Sharing the results with your team and audience demonstrates your commitment to client satisfaction. Sharing the responses enhances the perception that your business cares about constructive feedback and shows your clients that their opinions matter and are heard.
If you’re interested in learning more about how your business can leverage your Microsoft 365 Licence to run your own NPS surveys, feel free to get in touch with our team of experts at hello@itpartners.co.nz.